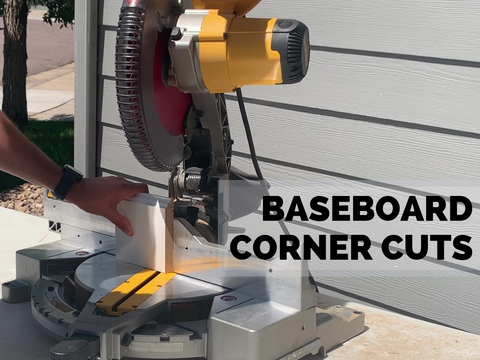
BASEBOARDS - BULLNOSE CORNERS
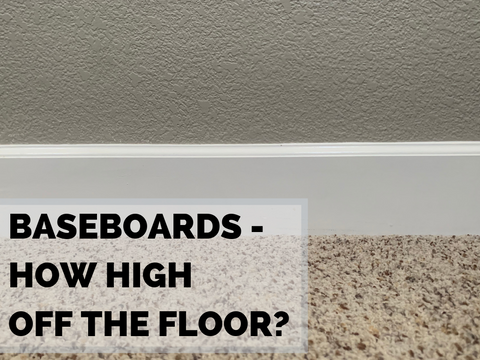
If your home was built sometime after the early 2000s, you may have noticed it is missing square corners. Instead, most of your corners are rounded, or you have bullnose baseboard corners. This rounded drywall corner gives homes a contemporary look without too much hassle when drywalling.
But when you are installing the baseboard around bullnose corners, things become more complicated. No longer are you lining up to two 45-degree corners (miters); installing bullnose corner baseboard trim requires more precision.
Our bullnose corner tool, the ¾’’ Bullnose Corner Gauge helps take the guesswork out of these extra steps. The flaps allow you to draw a line on both the wall and the baseboard piece you are cutting to ensure a perfect fit every time. Our guide for installing these professional-looking baseboards for rounded corners with the ¾’’ Bullnose Trim Gauge, is below.

|
Before we start, a little background: Rounded baseboard corners come from bullnose drywall corners. Drywall installers use a bullnose corner bead and joint compound to create the rounded shape. Learn more about the basics of a bullnose corner. |
STEP 1: PREP YOUR BASEBOARD PIECES  Photo: Prepping to mark baseboard with 3/4'' Bullnose Corner Gauge.
Your baseboard pieces should be at least slightly longer than your wall sections. Measure your small pieces to the length of the corner they will end on, but then cut with the extra board on the end for you to make your mark. Do this for both sides.
STEP 2: MAKE YOUR MARKS (MEASURE YOUR BASEBOARD)
 Photo: Transfer your measurement to your baseboard for cutting.
With your trim prepped, take each piece and align it for marking. Mark both sides of the wall and each piece. Your wall line will now serve as a guide when fitting. You can double-check your mark with a tape measure, but if you have aligned everything square, that should be accurate.
STEP 3: MAKE YOUR CUTS
 Photo: Make 22.5-degree cuts on long pieces.
With your pieces in hand, use your marks to make 22.5-degree cuts being careful not to cut the mark (leave your mark visible after you cut). You’ll want these angled in to fit with your center-piece.
|
DO THE MATH, NO HAND TOOLS REQUIRED. Instead of making two 45-degree miter cuts (45+45=90), we are making four 22.5-degree miter cuts (22.5+22.5+22.5=22.5=90). |
STEP 4: CUT YOUR CENTER PIECE
 Photo: Make your 5/8'' center piece with 22.5-degree sides. Size may be different.
A key difference between the standard 45-degree cuts and the rounded trim corners is the center- piece. The piece will fit in between your two cut pieces to bring the corner together. These need to be 5/8’’ with two outward-facing 22.5-degree cuts.
STEP 5: FITTING
With your pieces in place, go back to your corner and dry-fit. Align the cut on your length pieces to the mark on the wall to ensure they still fit correctly.
|
HAVING TROUBLE? Not all corners are 90-degrees. Some are worse than others. Try adding 1/16'' - 1/8'' to the end of your pieces to compensate. |
STEP 6: PRE-ASSEMBLE
 Photo: Using your preferred method, consider pre-assembling your pieces for easy installation.
Pre-assembly allows us to avoid the complicated process of trying to precisely nail in three separate pieces. Too many things can go wrong, preventing a seamless, professional-looking trim corner. Instead, the pieces are glued together AND THEN installed. Carpenters and DIY’ers have countless ways of pre-assembling, and they all work, here are three suggestions to considering trying:

STEP 7: INSTALL
 Photo: Nail your assembled piece to the wall.
If you followed the pre-assembly steps, you now have a fully assembled corner piece in hand. It is time to nail, or fasten, the baseboard to the wall. You may want to prime and paint your pieces before installation.
- Prep – one of the most helpful things is to carve away any concealed drywall or wall. Doing this allows you to ensure a tight corner fit.
- Dry fit – fit your centerpiece up against any connecting joints before nailing. You want to create a good fit.
- Nailing – you will want to select your pin/nail size. This may depend on the equipment you have available to you. Many carpenters will use 23ga. pins when they can. This ensures a small nail hole that is helpful when using wood trim that will not be painted. Other options can include 16ga. or 18ga. With your nail gun and pins/nails, prep by locating all of your studs. The longer the nail, the better. You are now ready to nail in your bullnose corner.
Many professionals offer differing opinions on how to nail corners. Some start at the corner and work their way to each side, while others ensure a tight joint and work their way to the corner and around. Do what is best for your situation, all homes are different.
With the corner piece attached, you should fill any holes left behind from the nails. Paint when necessary. You are ready to caulk any gaps if needed.